
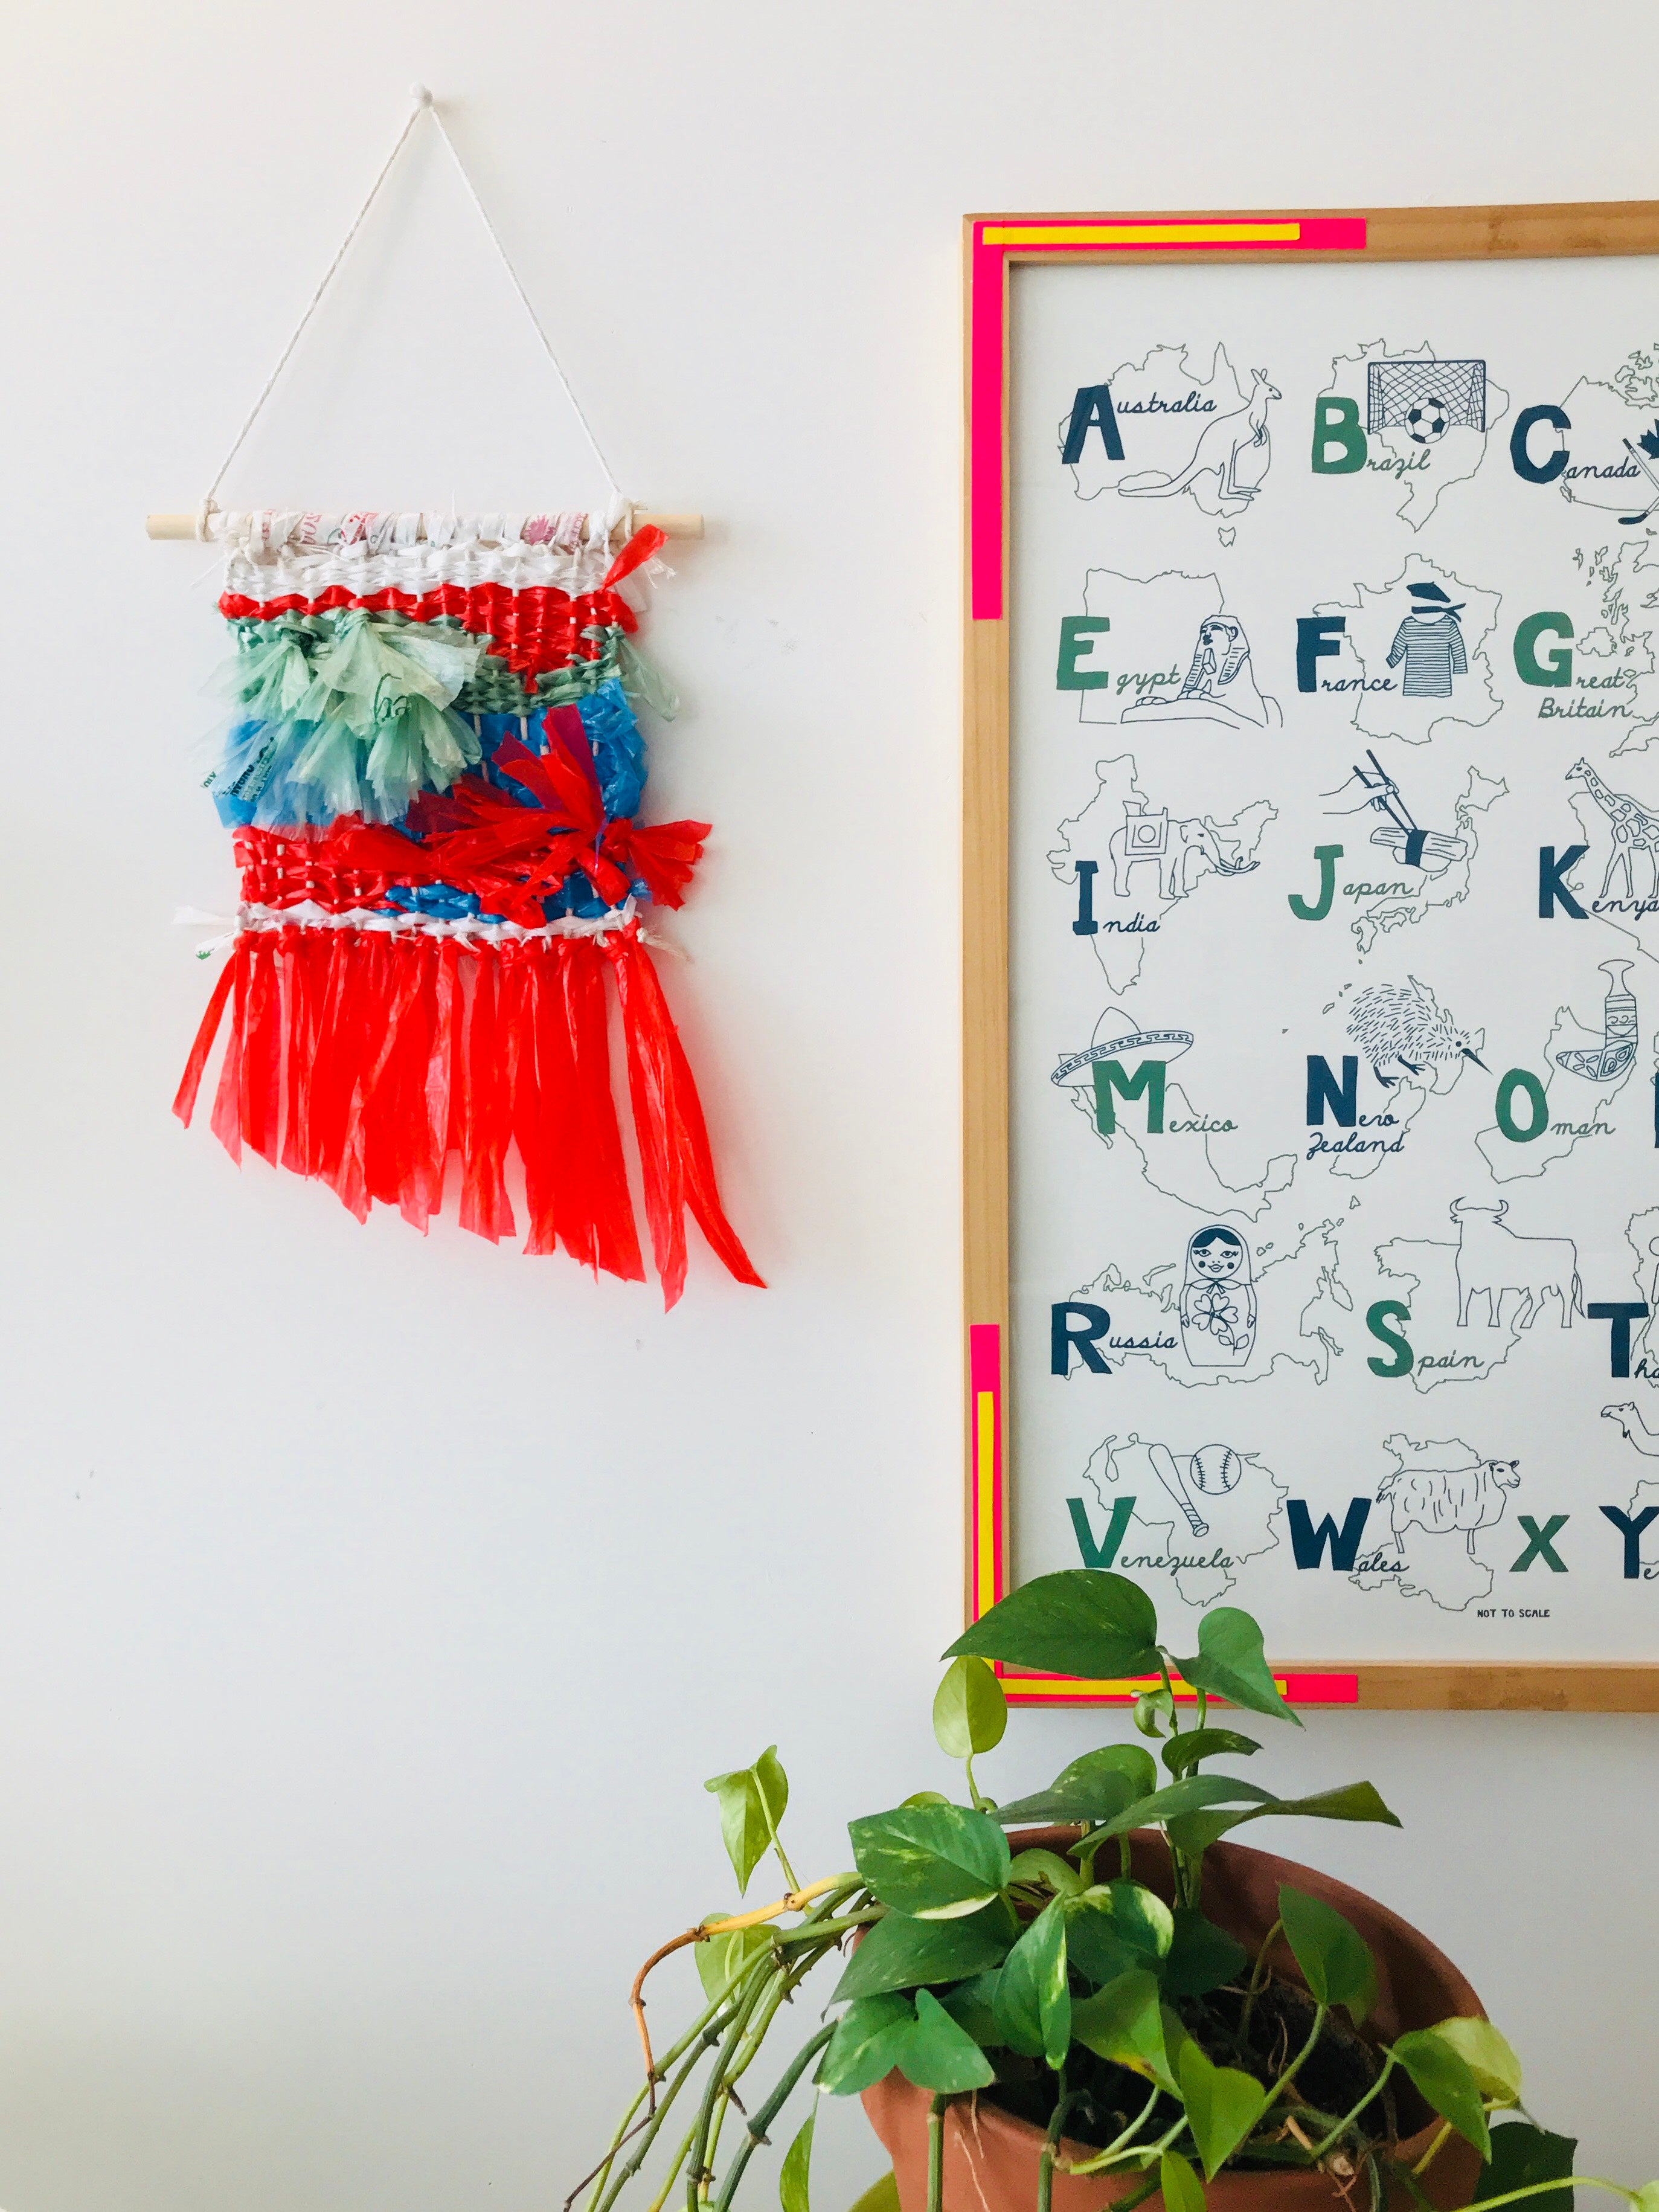
With Earth Day on our minds this month, we have created a DIY that can use up your plastic bag collection! Turn your plastic bags into wall art with this woven wall hanging. Here at Maptote, we are dedicated to finding eco-friendly alternatives to using plastic bags. But sometimes you forget your cotton totes and have to grab a plastic bag — but no worries up-cycle them to create a bright and fun wall decor!
Materials
- 4-6 (or more depending on size of weaving you want to make) plastic bags
- exacto knife/ box cutter
- cutting mat
- ruler
- pen
- scissors
- cotton string
- cardboard pieces about 9.5 in x 15 in (again depending on weaving size you want to make)
- small binder clips
- glue
- dowel rod

Step 1: Making of Plarn
Plastic + Yarn = Plarn
First lay plastic bag flat and cut off bottom seam. Then unfold the sides/gussets and flatten the bag again. Fold in almost half, I have left about an inch. Keep folding the bag in half until it is about 1-2 inches wide. Using your scissors cut off the the handles. Then start making vertical slits in the folded part of your bag. These should be about an 1/2 inch apart. Continue along the length of the plastic bag.

Unravel/ open up your bag. You will see fringe like slits across the width of your bag. Next, place an extra piece of cardboard in between the bag since it will be static-y and stick together. Start from one end and make a diagonal cut from the first slit to the top of the next on the opposite side of the seam to connect the cuts. Continue this down the length of the bag and start wrapping your plarn into a ball! Along the way you might have to slightly tear or cut some seams as they might not of been fully cut during the first phase. Continue this process on the number of bags you want to use for your weaving.
Step 2: Making of Cardboard Loom
Using scrap pieces of cardboard (hello recycling!?) we will start to make the loom. We started with a pieces of card board about 9.5 in x 15 inches. First, cut 1.5 inch pieces from the top and bottom of your cardboard using your cutting mat. Adhere with glue (and binder clips for extra security) about 1.5 inches from the top and bottom of your cardboard. Once everything is glued place loom on cutting mat and mark every 1/2 inch with a pen. Mark the top and bottom, then using scissors or knife cut slits where the markings are

Make a knot about 1 inch from the end of the cotton thread and place into slit on top of loom. This is called the warp thread. Wrap the cotton thread to the bottom slit and around the back of the next slit, then back up to the top and around the back of next slit. Continue this across the loom. Knot again once it is completely threaded to secure the warp.

Step 3: Start Weaving!
To begin weaving I have made a knot with the plarn on my first warp thread. Make sure to pull tight, but not too tight as the plastic may tear. I found it was easy to weave with short pieces of plarn. I suggest starting with about an arm’s length of plarn. Begin weaving by feeding plarn over and under the warp threads, continue this pattern across your loom. These pieces are called the weft. Make sure to push together your weft threads, this will make a tighter and more secure wall hanging as you go along. If you want to change colors or add to your existing piece just tie a small knot and trim the excess. Since the plarn is bulky you will barely see your knots.

We experimented with a triangle pattern in orange. To do this weave across about 8 warp threads. Repeat this three times. As you start the 4th row, skip a warp thread and continue the over and under pattern. Stop one warp thread before the previous row. Continue this until you have a point.

We used smaller pieces of green plarn to fill in the surrounding areas by tying the plarn to a warp thread to start. Once you have achieved your desired pattern and woven to the bottom of the loom, we can start adding flair!
Step 4: Add Flair and Take off Loom
To create the orange “pom-poms” on our weaving we simply folded plarn in half until it was about 6 inches. Then pleace horizontally behind a warp thread and tie a simple knot. The material of the plastic bags created this fluffy/pom-pom effect on their own! Trim ends as desired.
We added green tassels by folding about a 24 inch piece of plarn into half until it was about 6 inches long. Position the loop at the bottom and feed the ends behind two warp threads. Secure using a Lark’s head knot by pulling ends through the loop you created at bottom. You can repeat and add as many as you would like! Then trim when you are finished to desired length.

The next steps include taking the weaving off the cardboard loom. Start by flipping over the loom and slicing the warp threads at the top. Then double knot the cotton thread, repeat on the bottom. You may have to scrunch your weaving together to ensure enough cotton thread for a double knot, but this will just make it look more full and dense!
Step 5: Finish Your Weaving
Once the weaving is off the loom, admire your work! You are almost finished. The next step is to attach to the dowel rod (you might need to trim to fit width of weaving). Using about an arm’s length of plarn secure and knot to one end of your dowel. Then thread and snag the first row of woven plarn. Loop over and under the dowel and repeat across the length of your weaving to attach. Once you have secured the dowel to your weaving, knot again at the other end.

The last step is to add fringe/tassels to the bottom of your weaving. I included the bottom row of plarn and the cotton thread when I applied the tassels using the Lark’s head knot method. Continue across the width of the weaving. I used abut 6 inch pieces and then trimmed on a diagonal.


Trim your weaving. You can trim your fringe, knots and tassels all to your desired length to get clean and even plarn. Cut another piece of cotton thread to about 16 inches and double knot to the ends of your dowel. And viola! You have up-cycled that heap of plastic bags living under your counter. Hang on your wall and enjoy!