


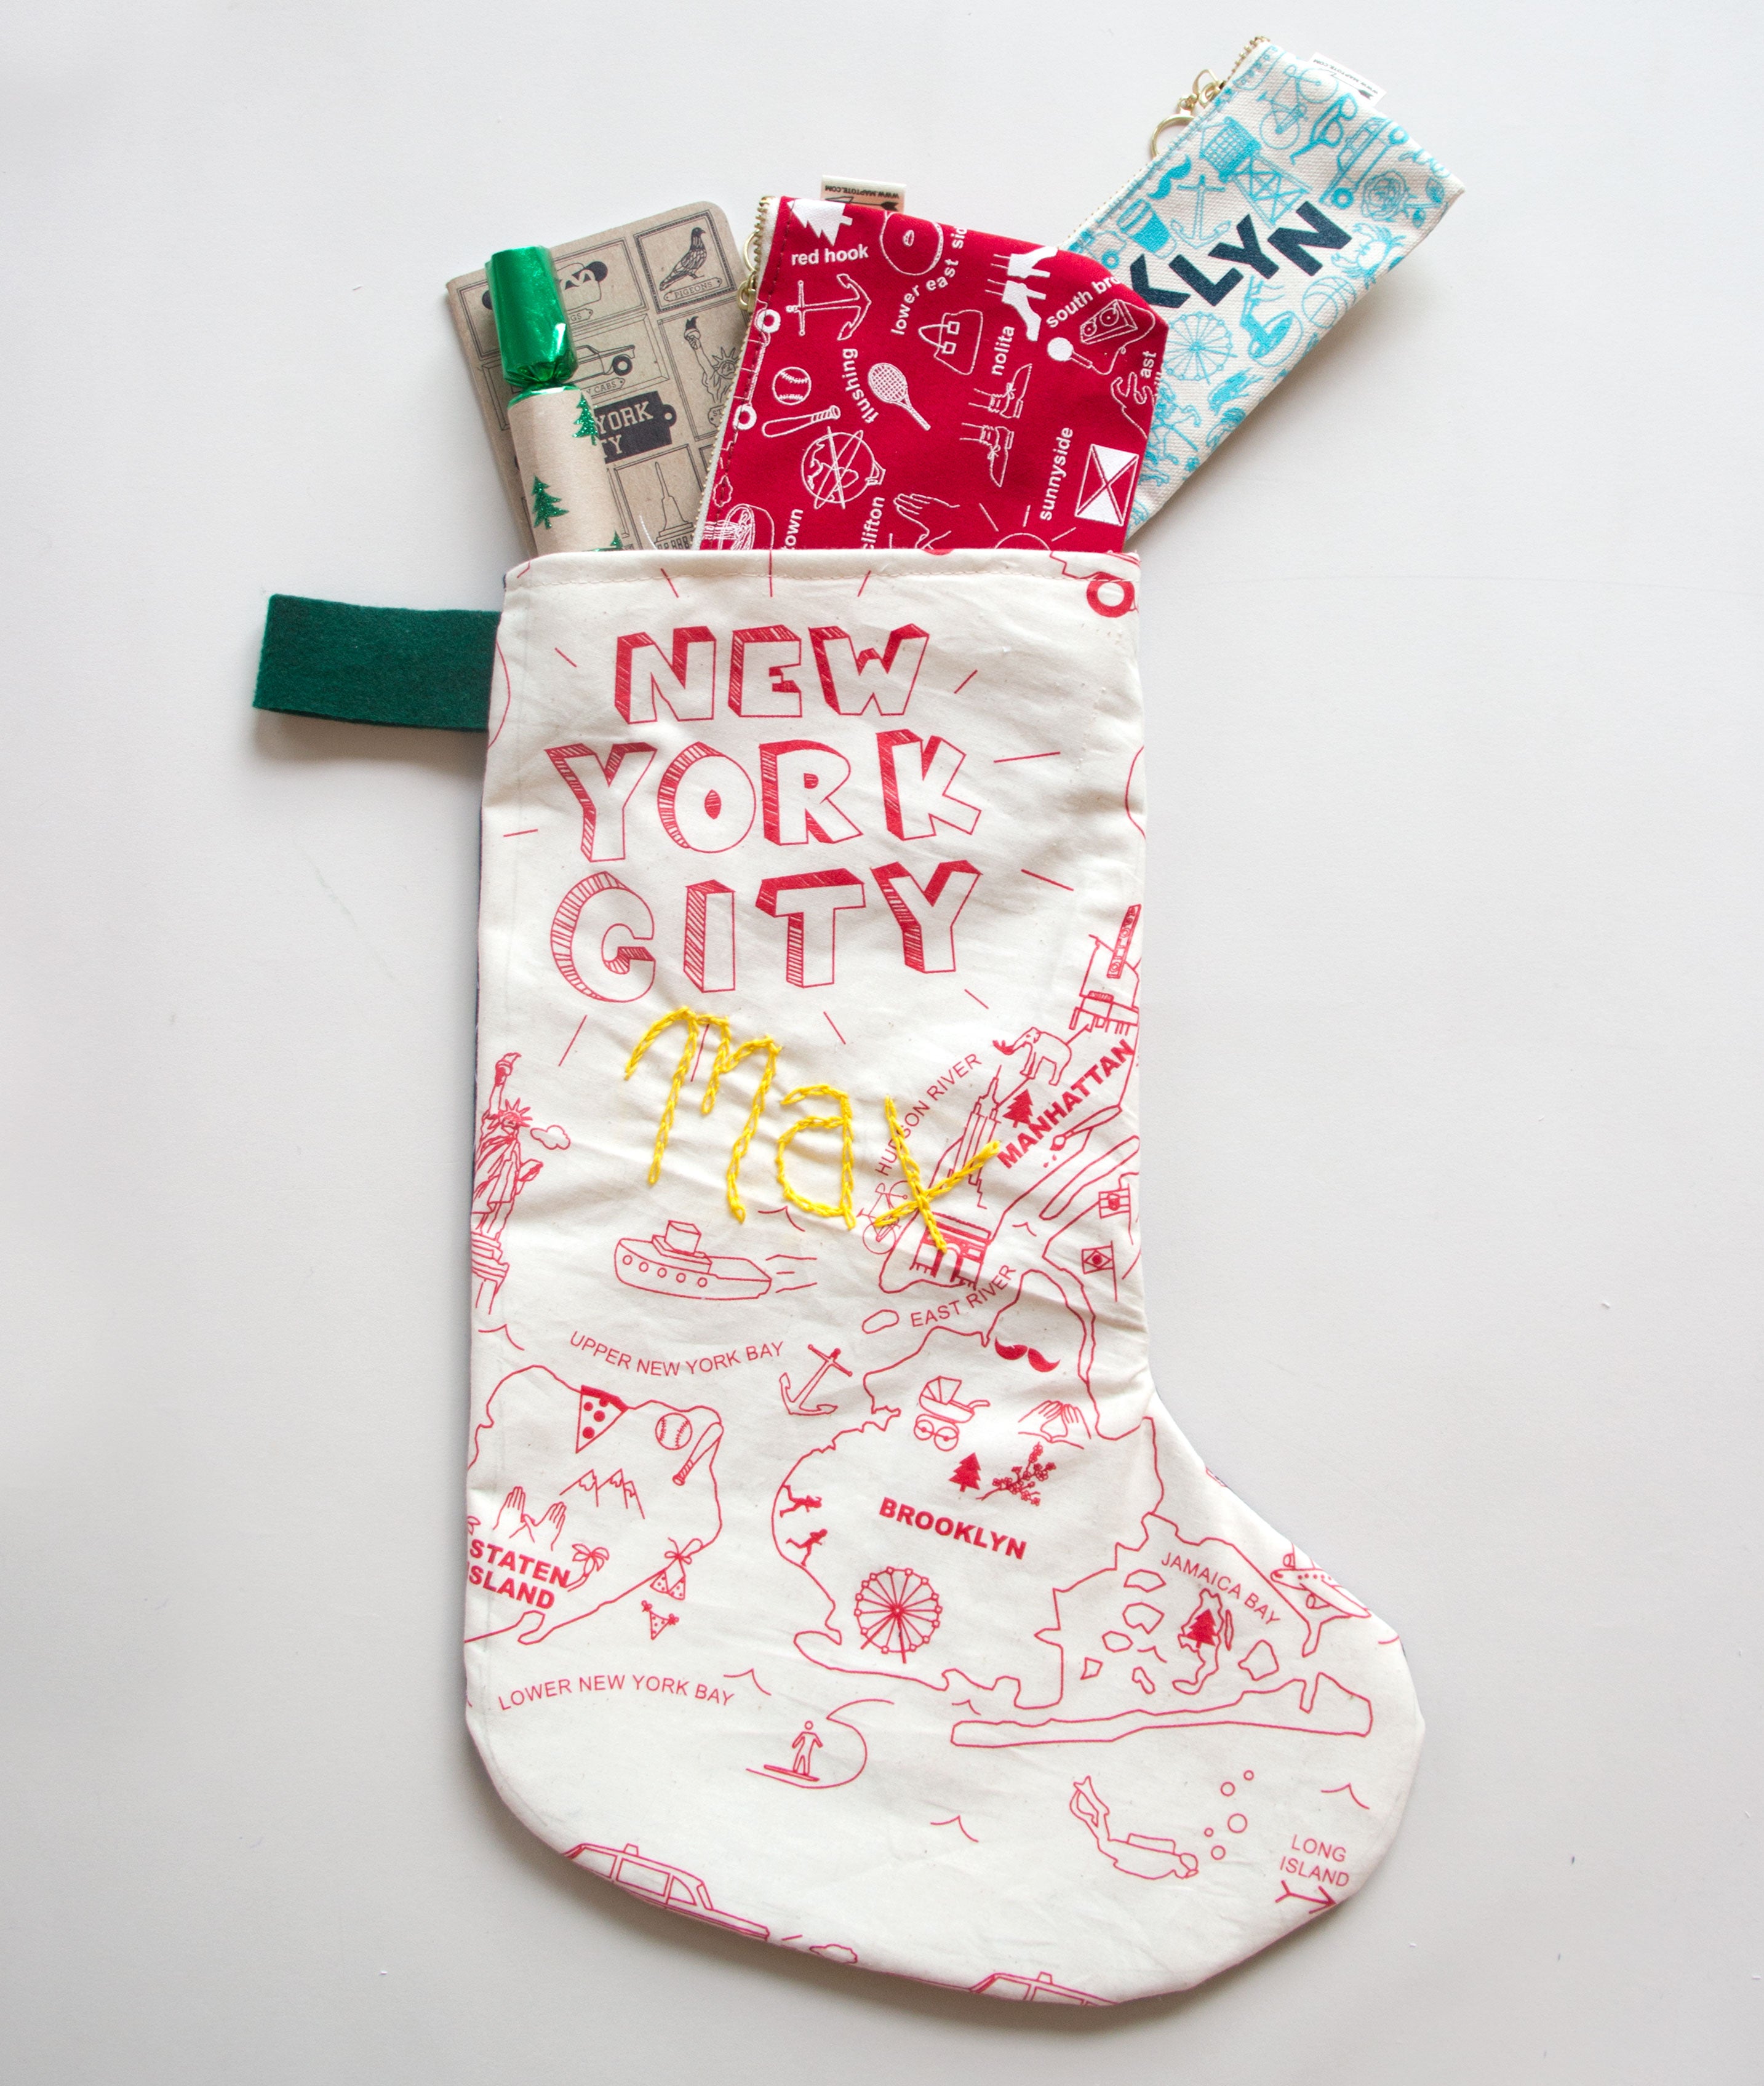
Maptote fans will sometimes share photos with us of what they created with our products! So, we were inspired by that DIY spirit and the holidays. We love how these stockings turned out, and how personalized you can make them. Follow along below to find out how we made Christmas Stockings from our Maptote Bandanas. This is perfect for someone who is a long way from home during the holidays or someone who loves cities near and far!
What you’ll need:
Two Maptote Bandanas
Embroidery Floss
Embroidery Hoop
Embroidery Needles
Kraft Paper
Small Piece of felt (or other scrap fabric)
Scrap fabric for lining
Sewing Machine
Straight Pins

First, start with embroidering onto the bandana. Using your embroidery hoop to pull the bandana taught, start embroidering a design onto the bandana. We used a chain stitch to monogram names. Here are few quick tutorials on embroidering. Have fun with this part, as you can add as much or little as you want!

Using kraft paper make a stocking template. Make sure to leave enough room for a seam allowance (about 1/2 inch around your desired stocking size). Cut this out and place onto of bandana. Make sure to position so your embroidery work and favorite part of the map shows! Trace and cut out on the first bandana. For the second bandana flip over your template and position onto the desired part before cutting out. Use this same template to cut out your lining fabric, fold in half so you only have to cut once!


Place the cut fabric pieces together. Make sure to sandwich the bandanas in-between your lining fabric with the prints facing each other! Or in much simpler terms–good sides together!

Now using the small scrap piece of fabric (in our case felt) cut to be around 1 inch wide by 4 inches long. Fold in half and place in between the bandans about an inch or two from the opening/top of stocking.

Sew around the stocking, make sure to leave the top open!

Cut slits/triangles around the curves before flipping right-side-out. Trim any dangling threads as well.
Flip right-side out.
Fold the raw edges of the opening over and use the staright pins to keep in place.

Sew around the opening to finish off the stocking, pull out pins, and trim off any threads again.

And finally hang by the chimney with care and fill with goodies!