


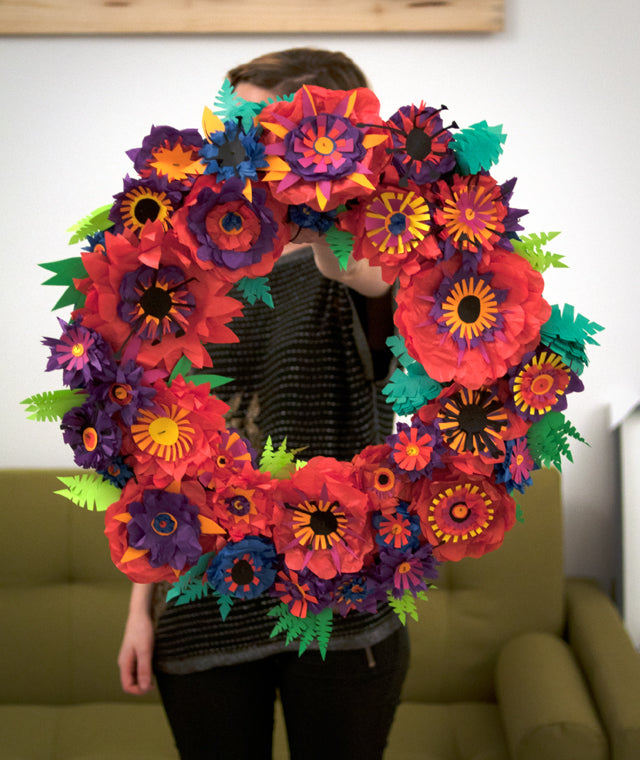
To celebrate 23 more days til Christmas we decided to bring you a colorful DIY to brighten up any wintertime blues! To bring some new life to our office during the holidays we wanted to make a wreath – but not just any wreath – we decided to ditch traditional wreaths in favor of a more tropical paper flower wreath. Follow this DIY to create your own winter weather escape!
Step 1: Assemble materials – gather together as much tissue paper, construction paper, and left over party decorations you can find! You will also need some floral wire (or a similar, easily manipulable wire), scissors, and a base for your wreath – we had a hard time finding a foam wreath base so we just used some left over cardboard that we cut into the shape and size we wanted.
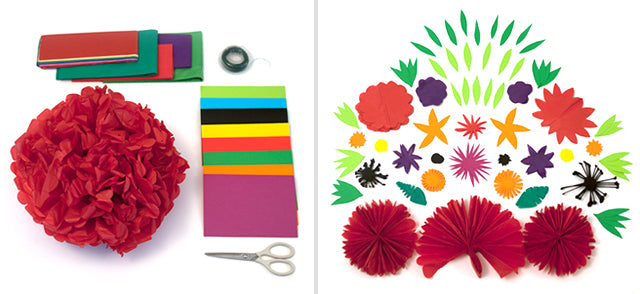
Step 2: Now start cutting! Cut a range of shapes, designs, and colors out of the tissue paper and construction paper so you have more options while layering your flowers together. When cutting the tissue paper you should cut it in multiple layers so you end up with more copies of the same shape – when putting together your flowers, the more layers the better!
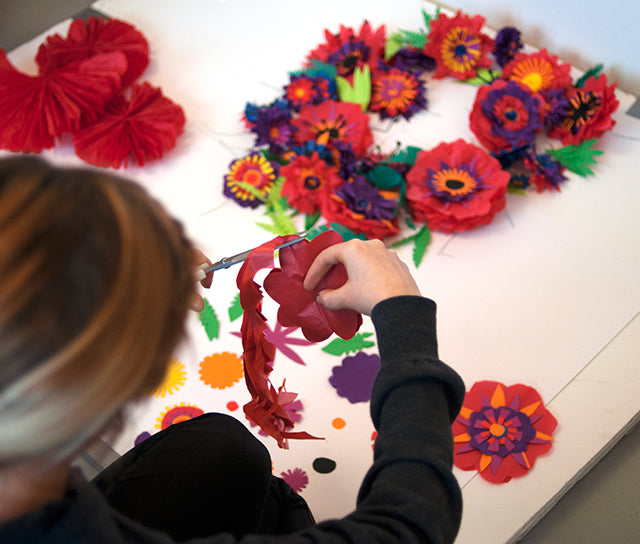
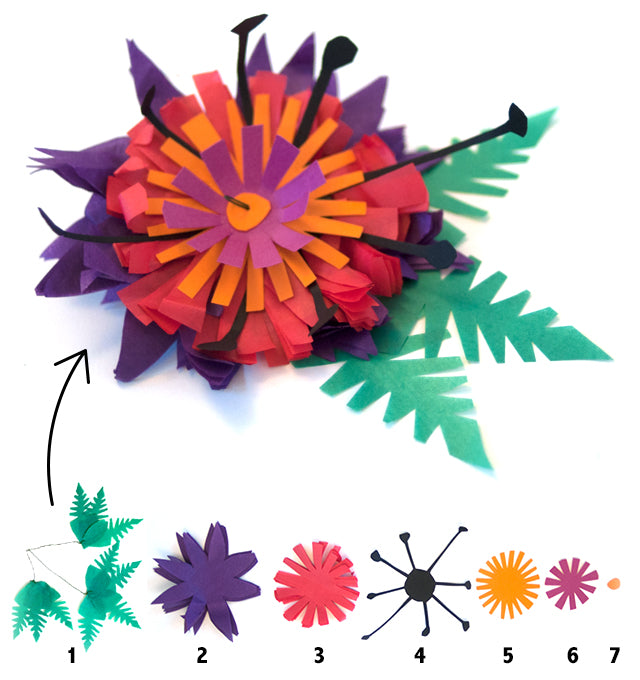
Step 3: Now let the fun begin! Once you have a good range of shapes and colors you can start creating your flowers! We found it best to start with lots of layers of larger tissue paper petals and then working our way down to smaller single layers of paper petals to construct the flowers.
To keep the layers centered together poke the floral wire through the center of your assembled layers – if you need help poking it through sometimes a tack or pin will help to create an initial opening for the wire to go through. You can then knot or bend the wire on either side of the flower so the layers don’t slide down. Make sure you have extra wire for the ‘stem’ of the flower, this will help you attach it to your wreath.
To make your flower ‘pop’ you can ruffle and crumple the tissue paper layers and bend the paper layers in towards the center.
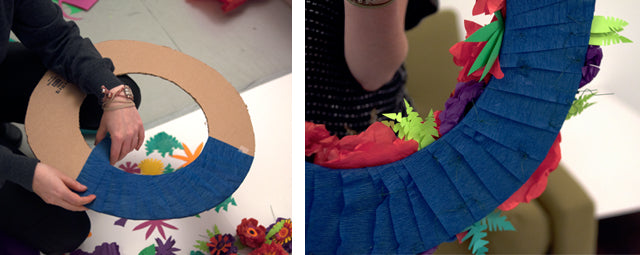
Step 4: Once you have created a good range of flowers and leaves you can start creating the base of your wreath. We cut a ring out of cardboard and then wrapped some left over crepe paper streamers around it so no cardboard would show through once the flowers were attached.
Step 5: Once your wreath base is finished you can start attaching your flowers. We used a pin to poke holes through our cardboard base where we wanted to place the flowers and leaves – we then put the wire ‘stems’ of our flowers through the holes and finished the wire on the back of the wreath to hold the flowers in place.
We found it easiest to position the larger flowers first, then the smaller flowers, and then the bundles of leaves – this way you’re better able to fill in any obvious gaps in the arrangement of your wreath.
Then, TA DA! You have your finished wreath! Now you can hang it up where it will brighten the spirits of everyone who walks through your door!